Hydration...or lack thereof
Even on the best days, staying properly hydrated while biking can be a challenge. And winter riding makes it even trickier. While you might not feel like you’re sweating as much in cold weather, your body is still losing plenty of fluids. In many cases, it’s not all that different from summer riding.
One of the biggest issues is simply that we don’t drink enough in the winter. Cold temperatures have a funny way of convincing our brains that we aren’t thirsty. Whether you’re fatbiking, cross-country skiing, or snowshoeing, it’s easy to go out for a one- or two-hour ride and barely touch your water bottle. I’ve done plenty of rides where I didn’t even drink half a bottle, leaving me with a mild headache. That might not be a big deal on a short spin close to home, but it can quickly become a problem on long rides or over multiple days.
Cold air also plays a role. Winter air is much drier, which means you lose more moisture just by breathing, especially when you’re working hard and breathing faster. Add to that the fact that cold weather tends to make you pee more often, and you’re losing even more fluids without really noticing. Throw in a few layers of warm clothing that make you sweat, and it’s easy to see how dehydration sneaks up on you.
Because of all this, it’s important to be intentional about drinking while riding in winter. I usually carry a 2.5-litre insulated hydration bladder so I know I’ve got enough water for the day. Some of my friends like to bring insulated thermos bottles filled with warm drinks, which can be a nice morale boost on cold rides. Lately, I’ve been using double-walled Bivo bottles. They rarely freeze, and the silicone valve stays soft and easy to drink from even in the cold.
I also like adding electrolytes to my bottles. They help maintain salt levels, add a bit of flavour, and, most importantly, encourage me to keep sipping. Staying hydrated in winter takes a bit of extra effort, but your body (and your ride) will thank you for it.
To 'Air' on the Side of Caution
All jokes aside, one of the most common mistakes I see out on the trails is running the wrong air pressure in fatbike tires. Fatbiking throws a lot at you—pavement, hardpack, ice, fresh snow on top of hardpack, or deep powder—and each of those conditions calls for a different setup. There’s no single “perfect” pressure that works everywhere.
I’ve lost count of how many times I’ve been riding local trails and noticed other fatbikers slipping all over the place and struggling to hold a line. More often than not, their tire pressure is simply too high. When that happens, the tires can’t conform to the terrain, which means less traction and less control.
For example, a hard-packed trail might ride beautifully at around 8 psi, except maybe on very technical descents. Come back the next day after 5 cm of fresh snow, though, and that same pressure suddenly feels sketchy. Traction drops off and control becomes much harder to manage.
A good rule of thumb is to pay attention to how the bike feels. If the front end feels twitchy or hard to control, let some air out. If the rear tire is spinning while you’re applying steady power, that’s another sign your pressure is too high. Making small adjustments based on these cues will usually get you dialed in for almost any condition.

On hard-packed trails, most riders are comfortable somewhere in the 6–8 psi range. Add a layer of fresh snow and you’ll likely need to drop closer to 4 psi. I’ve even been out early in the season on lightly groomed trails after a big snowfall where, even at 3.5 psi, traction was nearly impossible. In those cases, the best option is often to get off the bike and help pack the trail—or grab snowshoes and lend a hand.
On an episode of the Bikepack Adventures Podcast, Richard Cohen talked about riding Route Blanche in eastern Quebec, where fresh snow was so deep that he had to drop his tire pressure to around 1.5 psi just to keep moving. That kind of pressure isn’t practical for most setups, since it’s easy to burp a tire off the rim. Richard was able to do it because he was running Fatty Strippers—latex rim strips that help lock the tire to the rim and prevent air loss. I’ve been using them for about two years now and haven’t had a single issue with burping or slow air seepage.
When it comes down to it, managing fatbike tire pressure comes down to two main things. First, pay attention to steering. If you’re fighting the front wheel or can’t hold a straight line, let some air out—and carry a low-pressure gauge so you know exactly where you’re at. Second, watch how your rear tire behaves. If it’s spinning because you’re mashing the pedals uphill or riding too far forward, the fix is simple: stay seated, shift your weight back, and apply power smoothly. If it’s spinning on flat terrain under steady effort, then it’s time to drop the pressure.
Listen to what the bike is telling you, make small adjustments, and you’ll be amazed at how much better your fatbike handles in just about any conditions.
Are Your Tires on the Right Way?
Another common tire mistake I see is mounting them the wrong way. If you take a close look at many fatbike tires, you’ll often find directional arrows molded into the sidewall showing which way the tire should rotate when mounted on the front or rear. That said, not all tires have these markings and I’ll admit, my first year riding a fatbike, I didn’t even know this was a thing.
In most cases, riders actually want their front and rear tires mounted in opposite directions. The key is to look closely at the tread pattern. The knobs on fatbike tires are usually beveled on one side and flat on the other, and that design plays a big role in how the bike handles.
On the front wheel, you want the beveled edge of the knobs facing forward as the tire rolls. This setup reduces rolling resistance while still providing strong braking traction, which is especially important for maintaining control through the front end of the bike. Good front-wheel grip under braking helps prevent washouts and keeps the bike tracking where you want it to go.
The rear tire works a bit differently. Here, traction under power is the priority. For that reason, you’ll want the flat side of the knobs facing forward. This allows the knobs to bite into the snow when you’re pedaling, helping reduce wheel spin and improve forward drive.
Just how easy is it to get this wrong? When my wife bought her fatbike from a major brand this past winter, both tires came mounted in the same direction, even though the tires clearly had directional markings. It’s a simple detail but getting it right can make a noticeable difference in traction, control, and overall ride quality.
What a Stud
It really might seem like much, but making sure to have studs in your tires will improve your fatbiking ride experience by such a large amount, you will wonder how you ever survived without them. The two prevailing reasons I hear from people as to why they aren't running studded tires is that they are quite expensive to buy and too hard to install at home. Both of these reasons are legit and I totally understand the predicament. Studded tires can cost upwards of $300 CAD a piece ($235 USD), which is an awful lot when you consider that they are just tires. Studs will cost anywhere from $80 USD (500 pack) for flat studs up to $400 USD (500 studs) for crown tip ultra xl studs. I generally like to go for something in the middle of the range and get concave studs for about $125 USD per 500 pack. Stud installation definitely takes a bit of practice and is most definitely hard on the hands, but the amount of money you can save through a little DIY can be better spent on some other bike gear. I have found that Terrene Cake Eater tires are the easiest to install studs into, while the 45 North Dillinger 5 tires take a lot more effort and leave me with a couple extra blisters. Studs weigh so little that the 'penalty' for installing them is so minimal you should just forget about it. However, on the occasion where you hit a patch of ice, you will thank your lucky stars you had them. I also find that the studs stiffen up the knobs of the tire and make them just a little more rigid and responsive.
.JPG)
At first glance, adding studs to your tires might feel like overkill, but the difference they make is huge. Once you’ve ridden with studded tires, it’s hard to imagine going back. They add so much confidence and control that you’ll wonder how you ever managed without them.
The two most common reasons I hear for skipping studs are cost and the hassle of installing them at home. Honestly, both reasons are totally fair. Studded tires aren’t cheap. A single tire can run over $300 CAD (around $235 USD), which feels like a lot to spend on rubber. Buying studs separately isn’t cheap either, with prices ranging from about $80 USD for a 500-pack of basic flat studs to nearly $400 USD for premium crown-tip ultra XL studs. I usually land somewhere in the middle and go with concave studs, which cost around $125 USD for 500.
Installing studs definitely takes some practice, and it’s not exactly easy on the hands. That said, doing it yourself can save a lot of money, money that’s probably better spent on other bike gear. Over time, I’ve found that some tires are much easier to work with than others. Terrene Cake Eaters are pretty straightforward, while 45NRTH Dillinger 5s take more effort and usually leave me with a couple of blisters to show for it.
The good news is that studs weigh next to nothing, so the added weight is basically a non-issue. You won’t notice them while riding—until you hit ice. That’s when they really shine, and you’ll be very glad they’re there. As a bonus, I’ve found that studs slightly stiffen the tire knobs, making them feel a bit more solid and responsive overall.
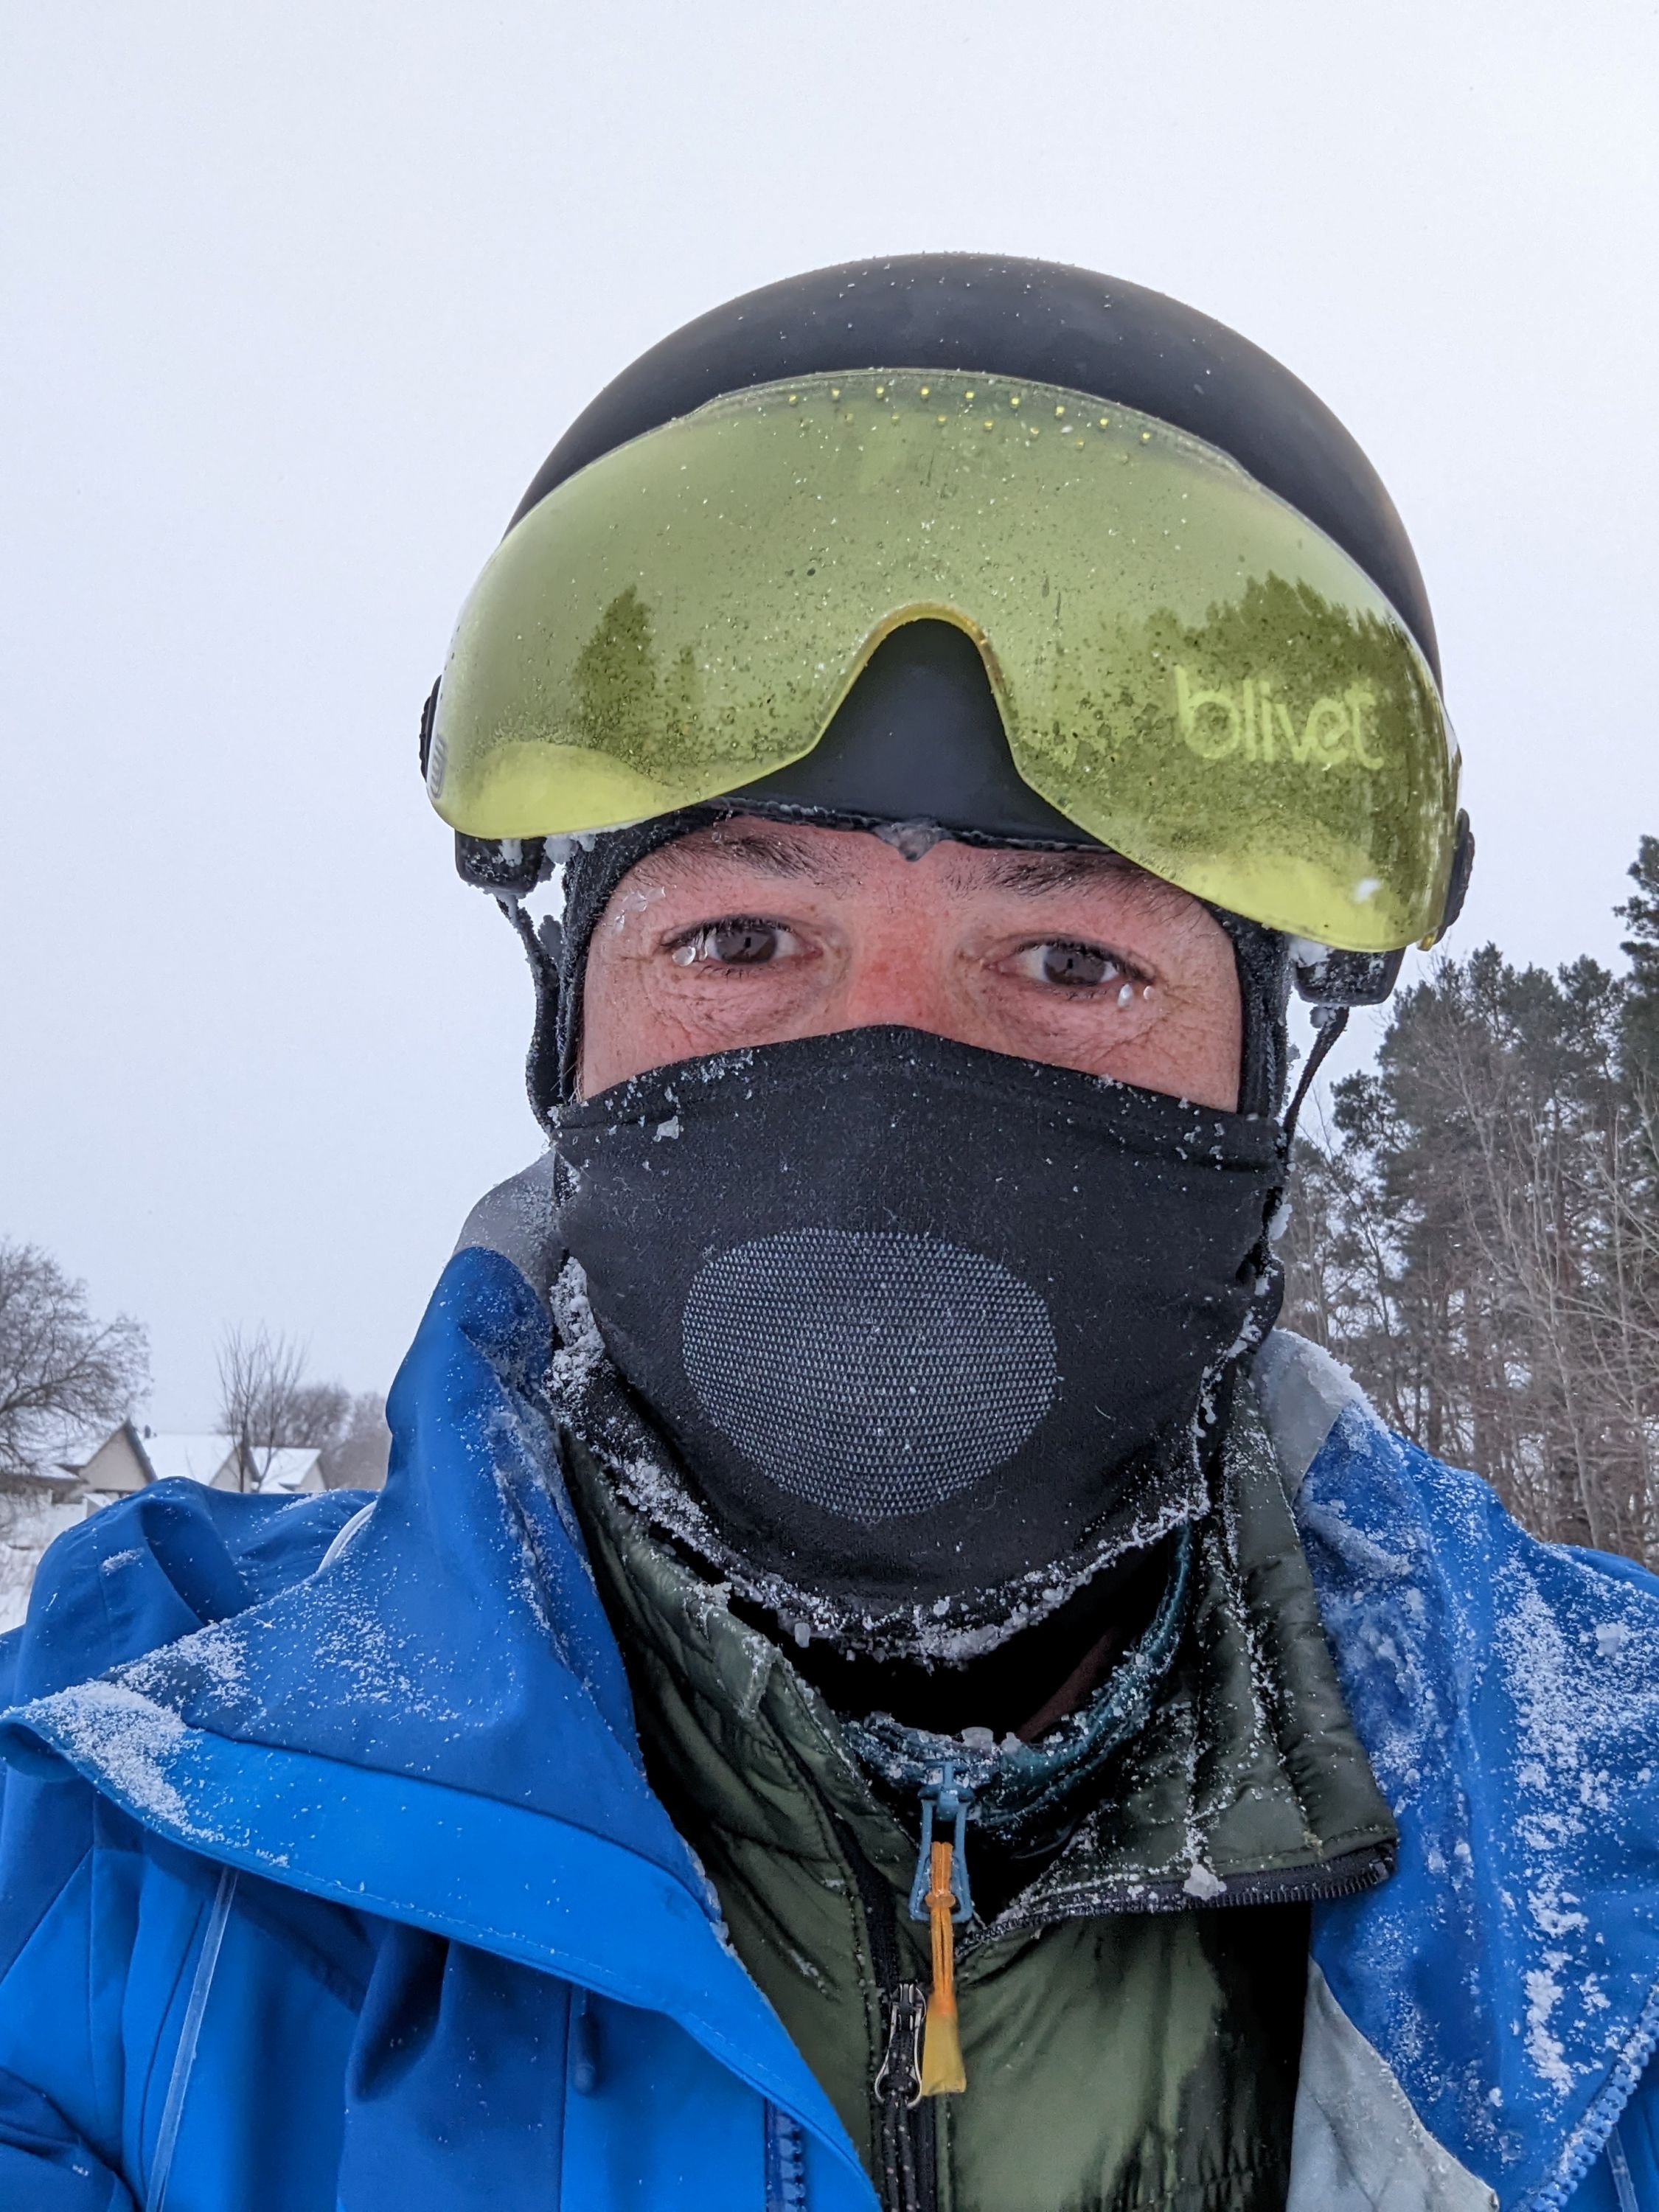
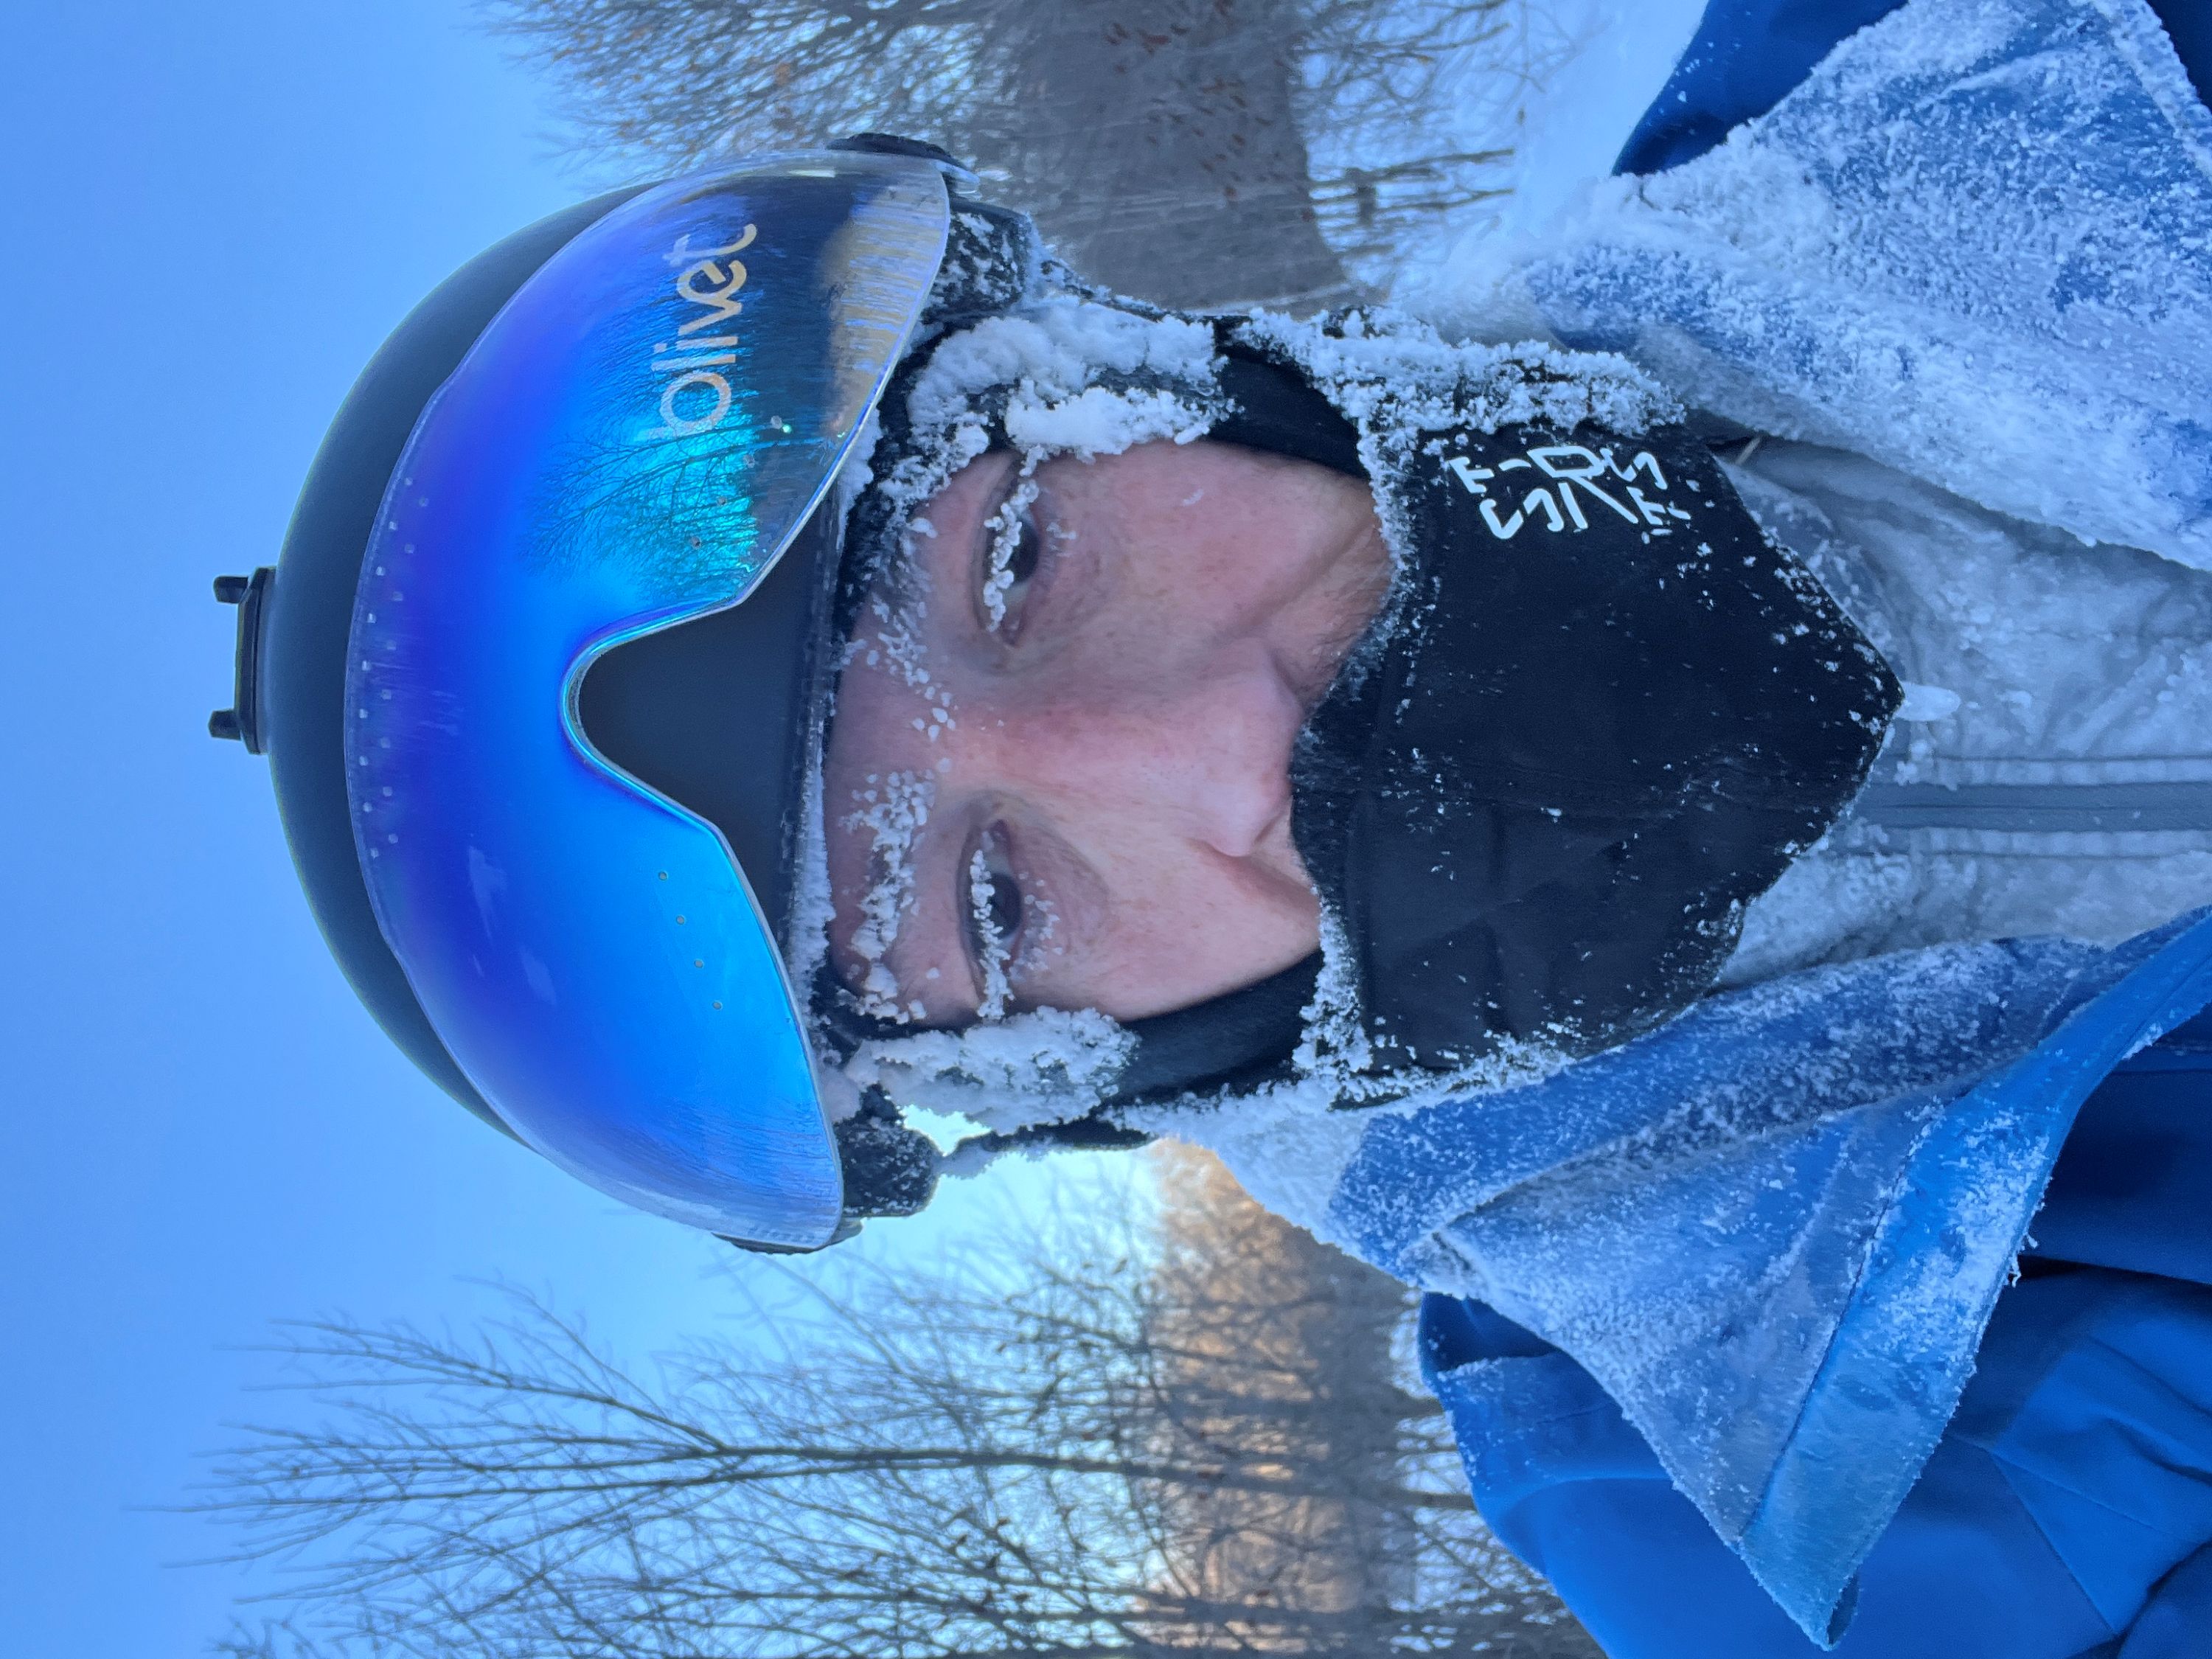
Thermoregulation. Don't Sweat It!
This is one of the hardest parts of winter riding to dial in, and honestly, most people get it wrong plenty of times before they figure out what works for them. Learning how to manage your body temperature takes experience, a bit of trial and error, and a willingness to make adjustments on the fly.
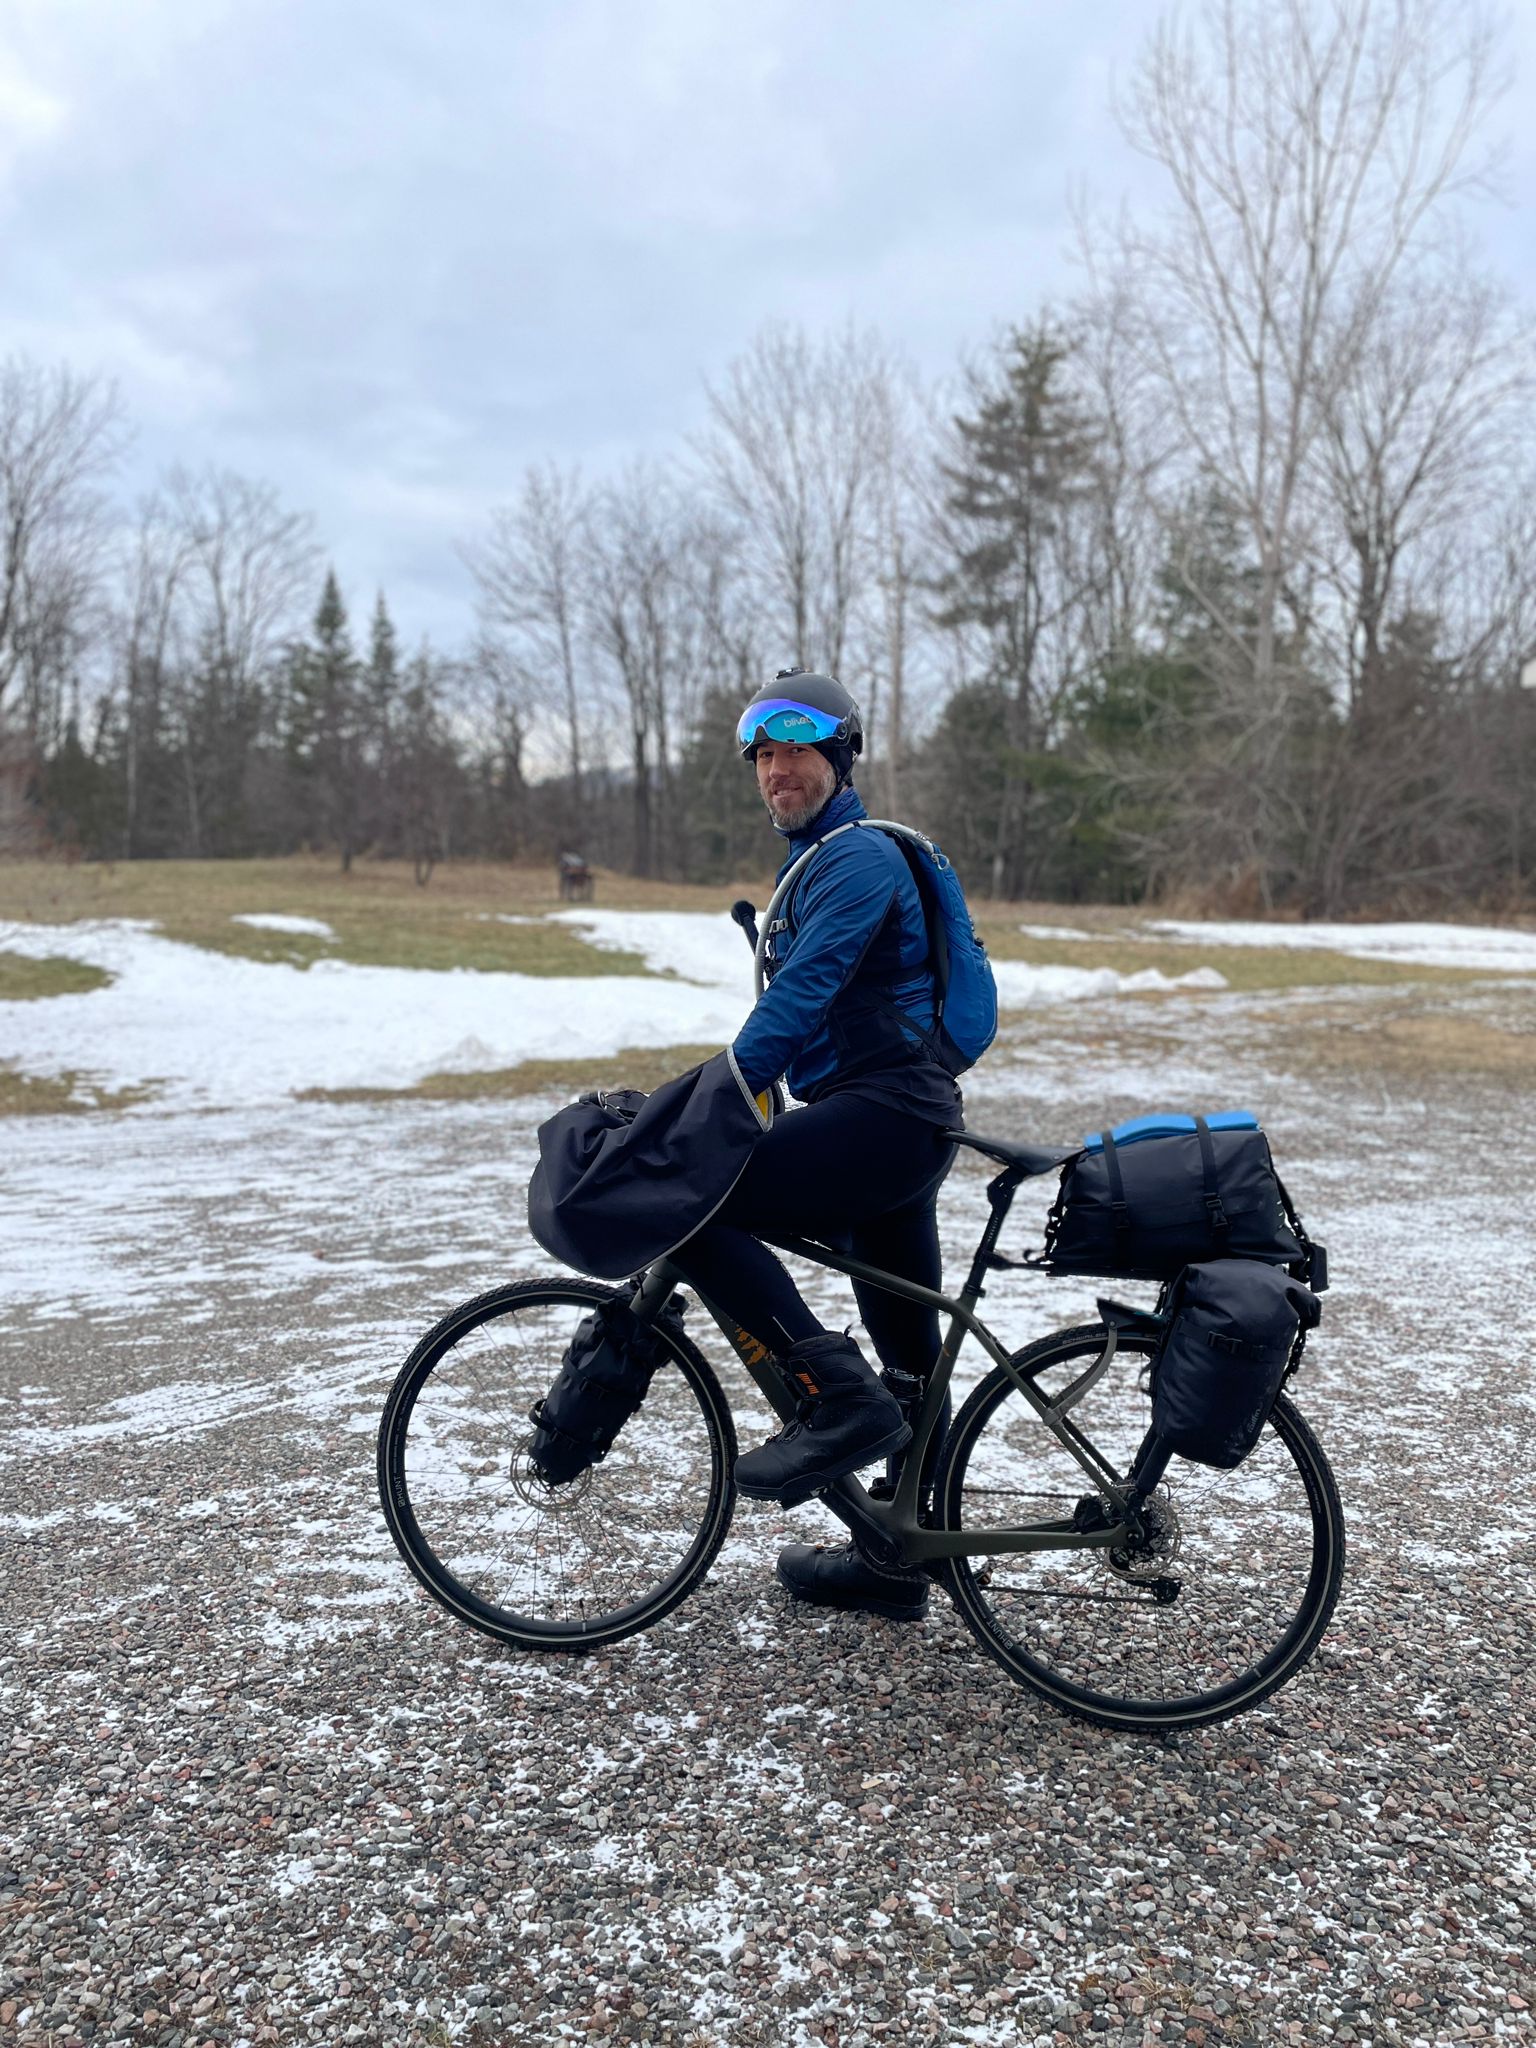
For most fatbike rides, I keep things pretty simple. On the bottom, I usually wear long underwear with snow pants over top. Up top, it’s typically just a base layer, a sweater, and a jacket. That setup has worked well for me in temperatures ranging from about 0°C down to -10°C. I’ll also wear a cycling toque or a lightweight balaclava to keep my head and face comfortable. More recently, I've been using some pretty cool products, like the SureFit Merino Balaclava by Stratus, or the Face Glove Flex by OuterU. These products help protect the face while also minimizing moisture buildup.
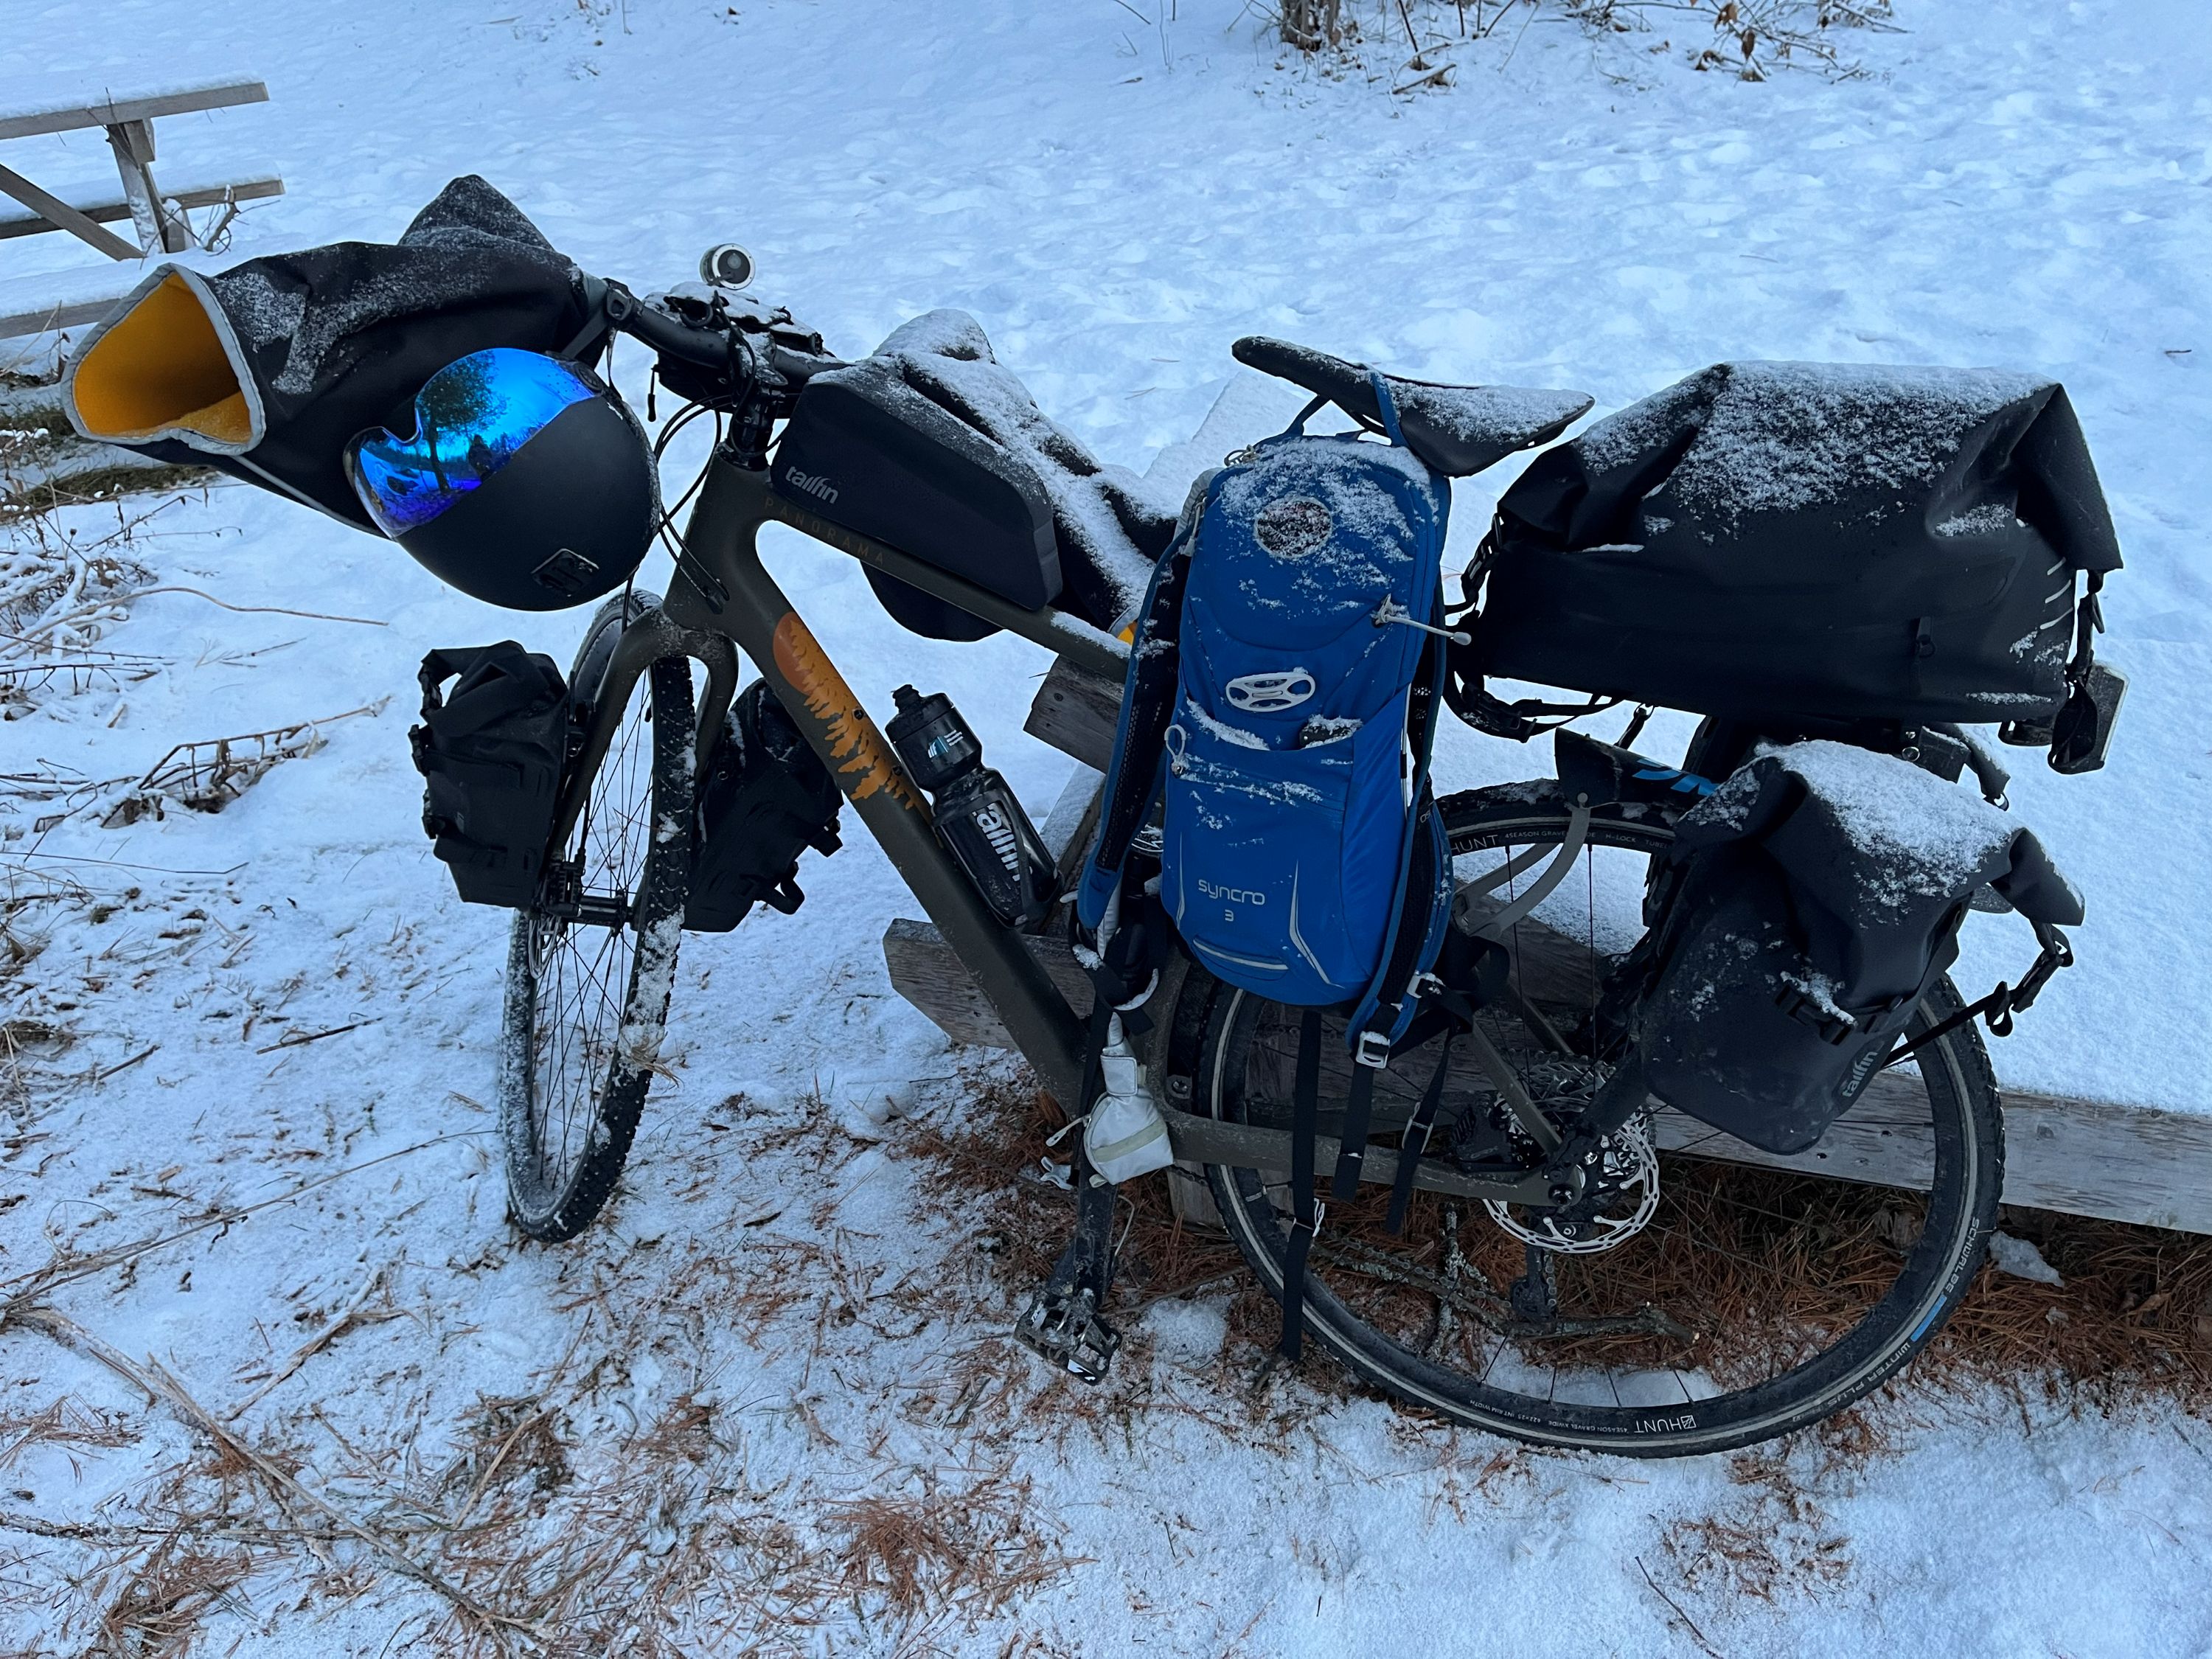
Hands and feet are always something I have to pay close attention to, since they get cold easily. I run 45NRTH Cobrafist pogies with mid-weight gloves underneath, along with 45NRTH Wolvhammer boots, and that combination has kept me warm and functional in most conditions.
Things get more challenging once temperatures drop below -20°C. At that point, extra layers become necessary, but so does constant awareness of how warm you’re getting. As my hands and feet tend to suffer most, this is the point where I usually put on some heated socks and thicker gloves. The idea of “never sweat” sounds great in theory, but in reality, winter riding often means stopping to add or remove layers, opening or closing zippers, and making small adjustments as conditions change.
During longer efforts, especially races, this becomes even more important. When I raced the Wendigo Ultra Fatbike Race, I swapped out my base layers at the 100 km mark to help my body regulate heat more efficiently. Staying comfortable in extreme cold isn’t about finding a perfect setup; it’s about paying attention, staying flexible, and adjusting as you go.
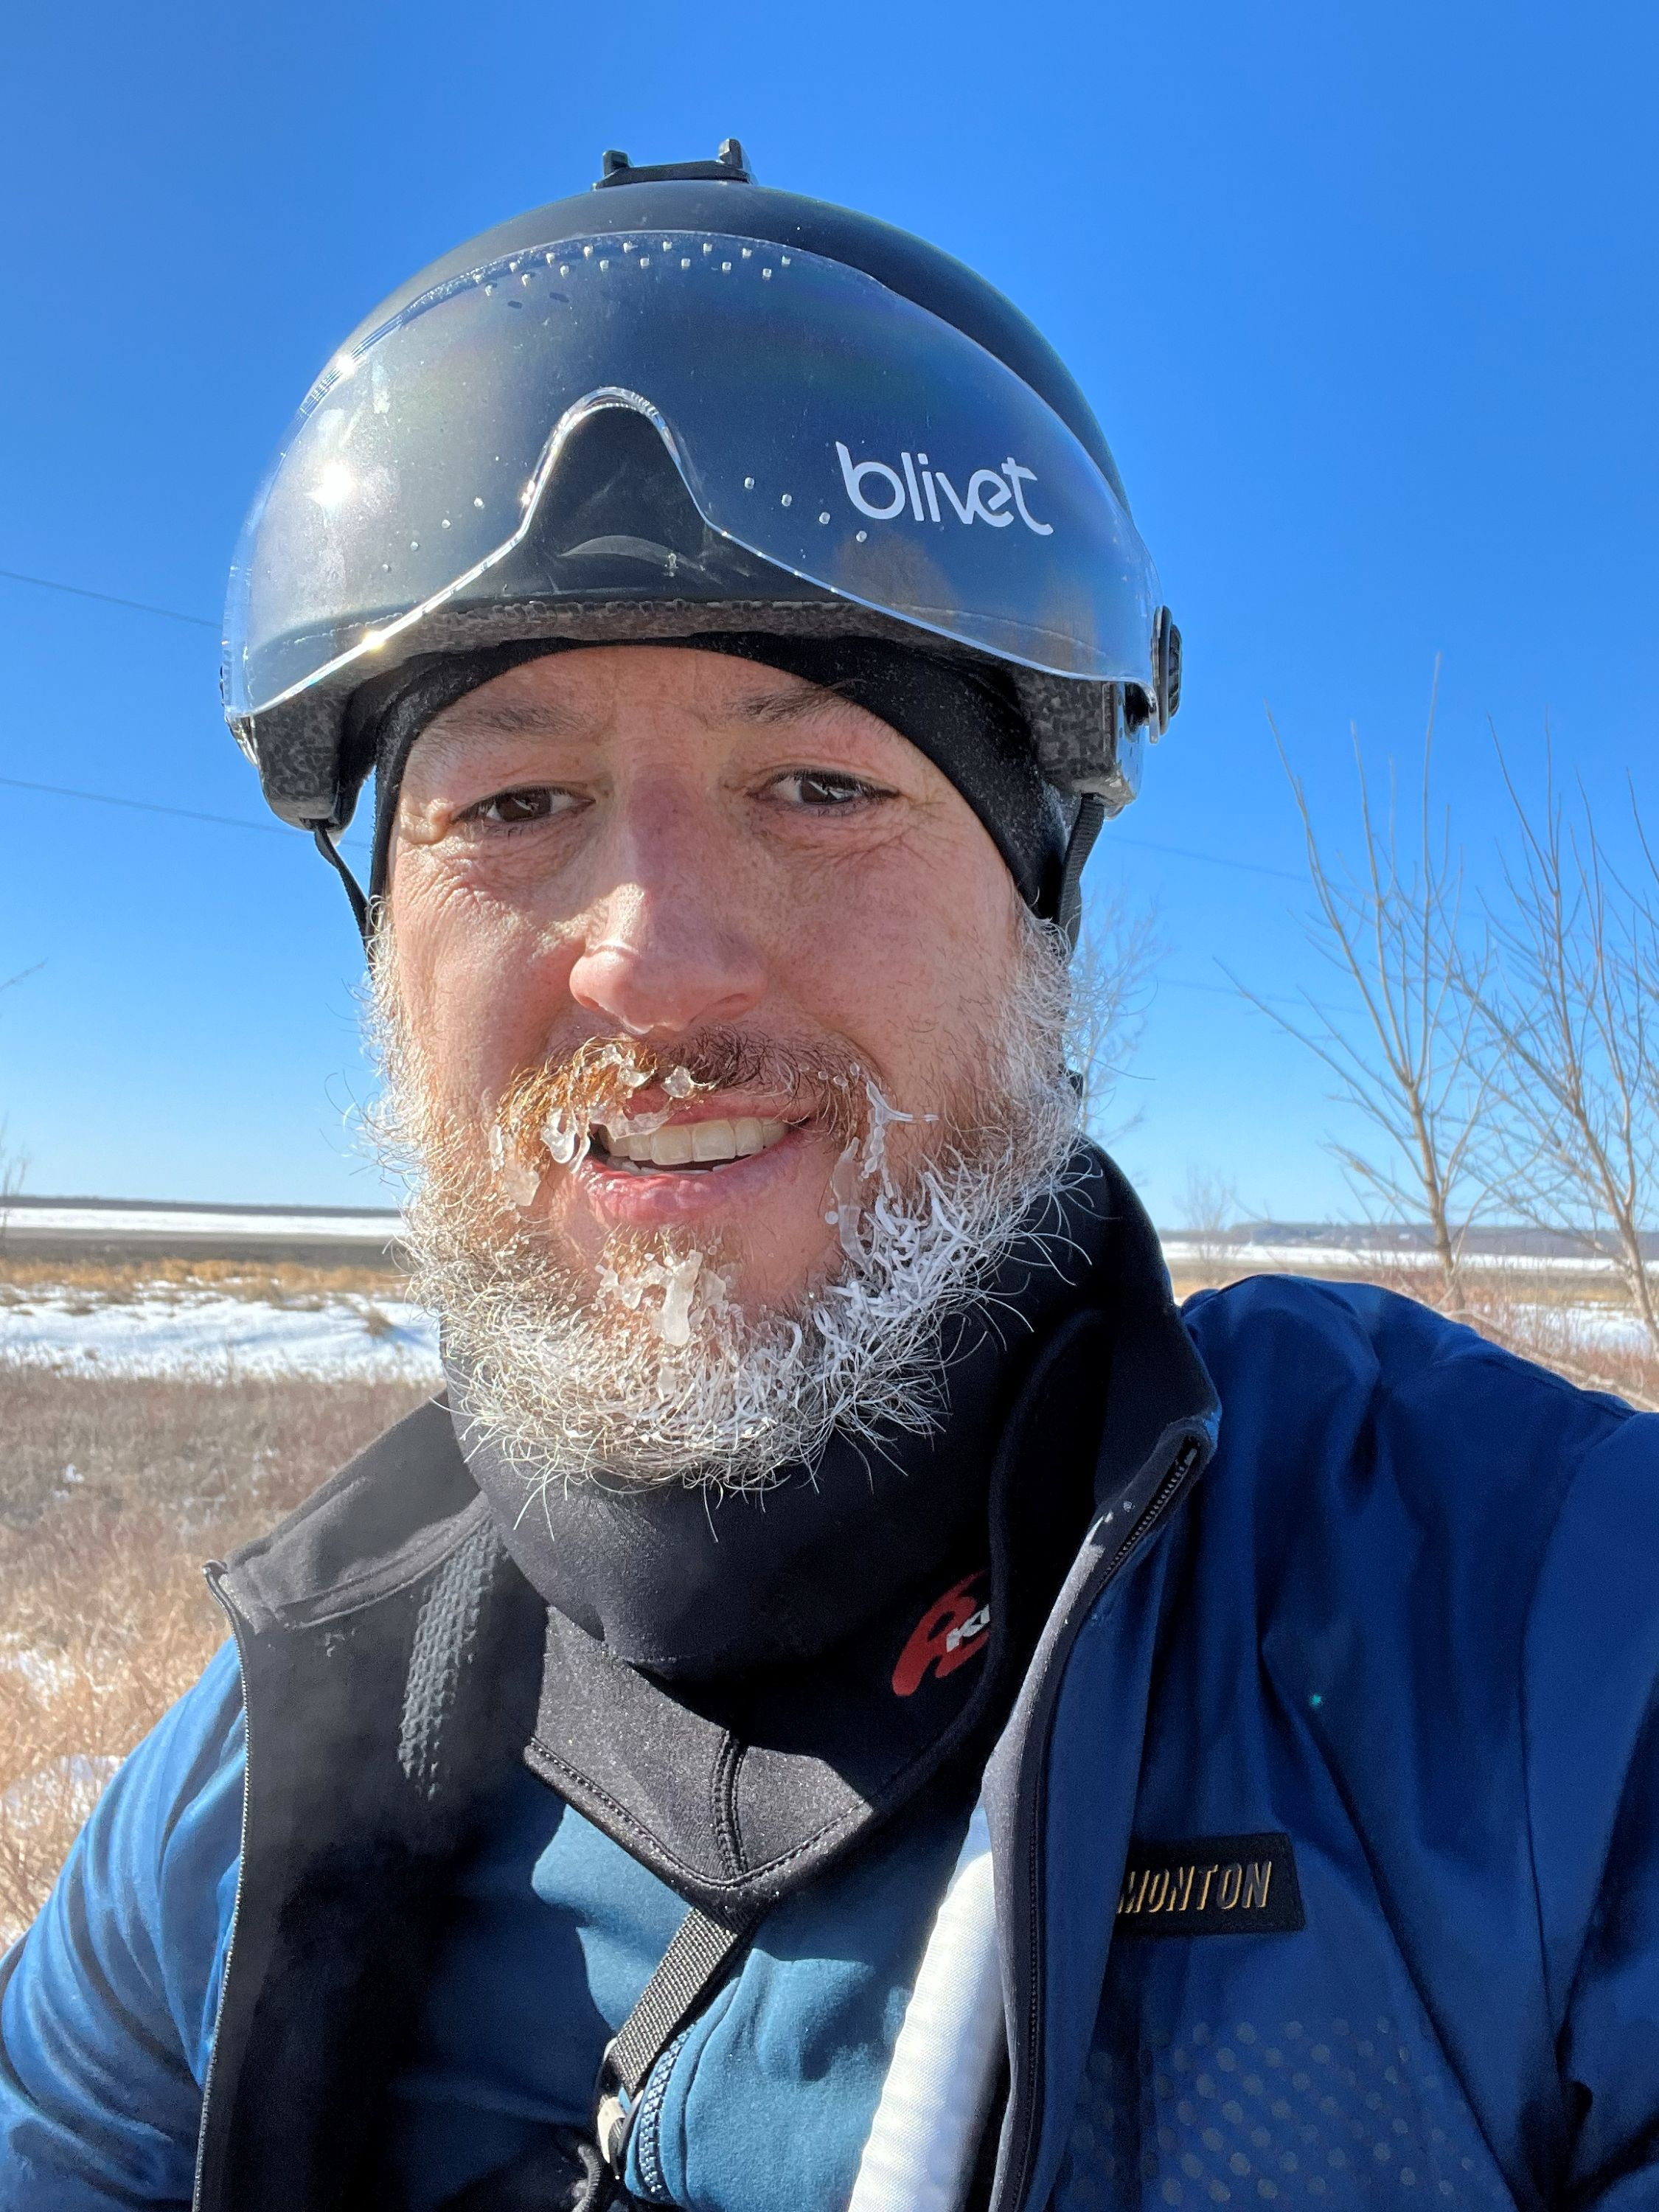
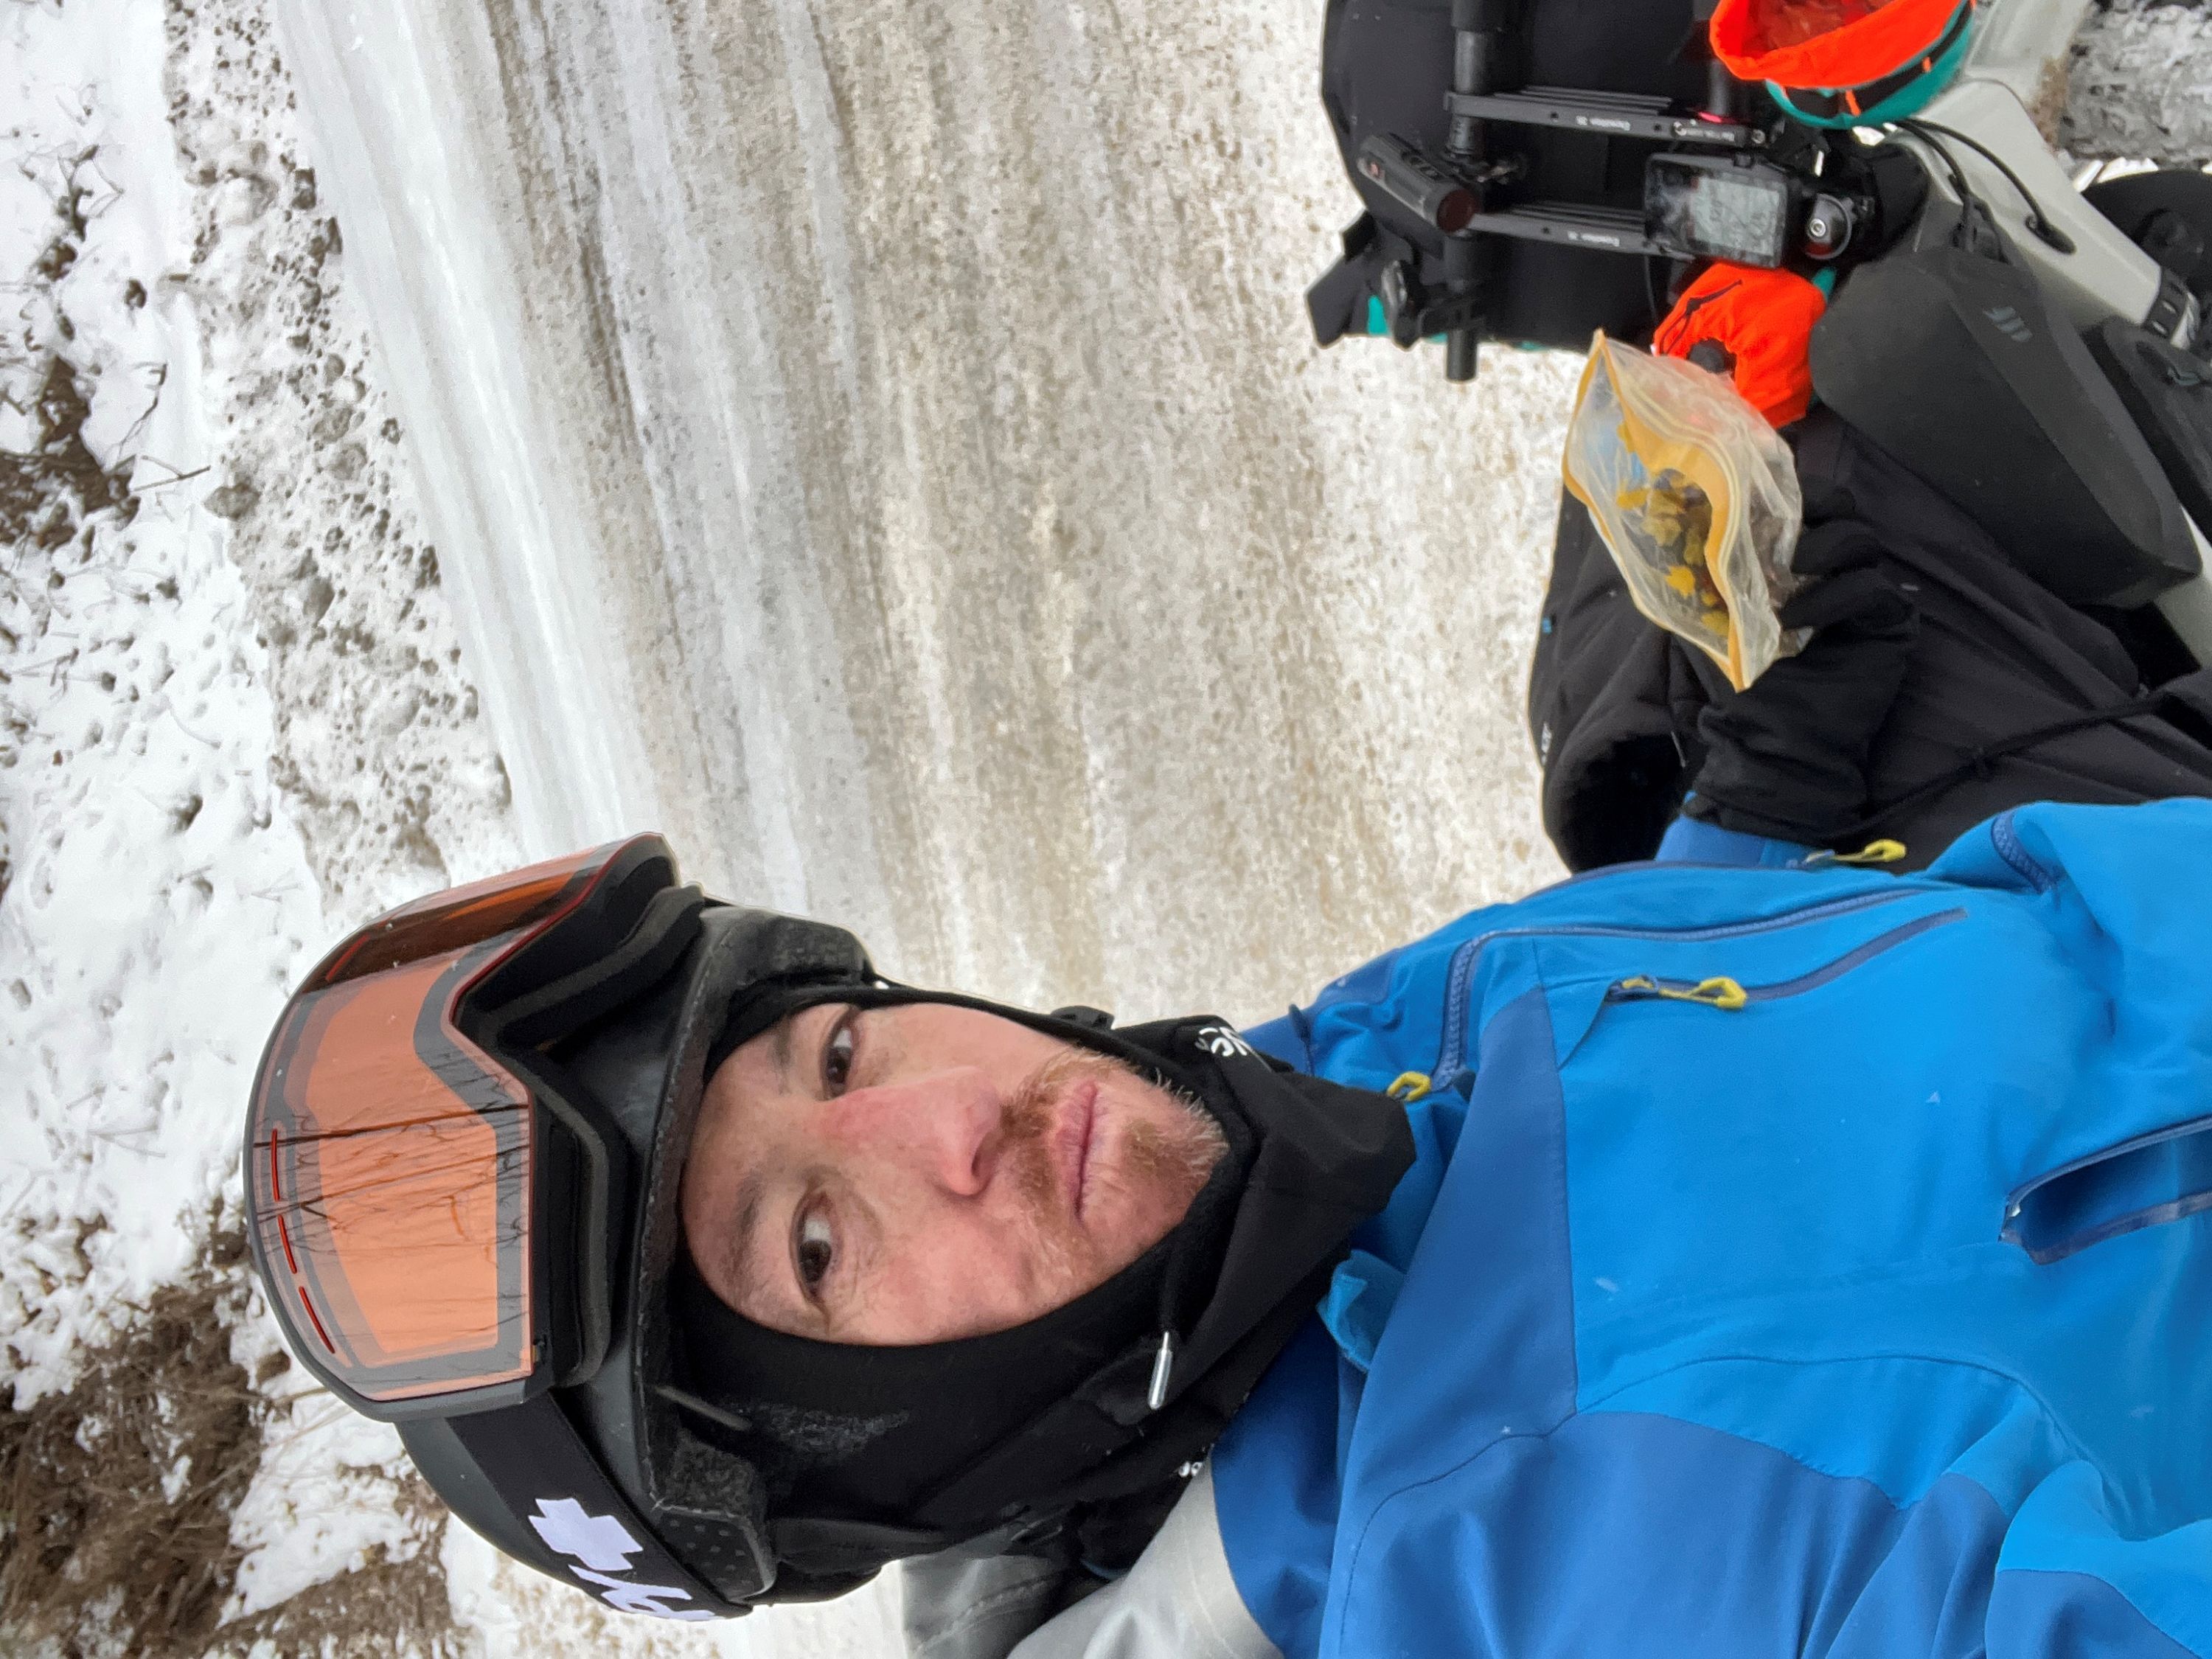
Get Those Calories Down the Hatch
As with hydration, which was discussed earlier, it can be quite tough to remember to take in calories when out fatbiking. If you are out for just an hour it's not really an issue, but if you are taking part in an event that will keep you out all day, I recommend setting a reminder on your GPS device or cell phone. There are various reasons people may opt to skip on taking in nutrition, but some of the most common for me are that I don't want to 'waste' time by stopping on the trailside as I don't want my body to cool down. Another common reason for myself is that it's cold outside, so I don't want to take off my gloves to eat food, preferring to keep my hands warm, rather than eat.
Just like hydration, remembering to eat while fatbiking can be surprisingly easy to forget, especially in winter. If you’re heading out for a short, one-hour ride, it’s usually not a big deal. But if you’re doing a long ride or taking part in an all-day event, staying on top of your calorie intake becomes much more important. One simple trick is to set a reminder on your GPS unit or phone, so you don’t accidentally skip fuel breaks. I also like to store candies like wine gums, or chocolates, inside my pogies, so I can easily grab them while riding.
There are plenty of reasons people put off eating, and I’m definitely guilty of a few of them myself. Often, I don’t want to stop on the trail because I’m worried about cooling down too much. Other times, it’s simply cold enough that taking off my gloves to eat feels like more trouble than it’s worth. Keeping my hands warm wins out, and food gets postponed.
The problem is that delaying calories eventually catches up with you. A little planning, and a few gentle reminders, can go a long way toward keeping your energy up and your ride enjoyable, even on long, cold days.
The Chamois Dilemma
The last thing to think about when riding in winter is whether or not to wear a chamois. On shorter rides, it can be a nice bonus, adding a bit of insulation to keep your bottom warm. The downside is that chamois material doesn’t breathe all that well, so on longer rides it can trap moisture, aka… butt sweat, which often leads to chafing.
Over the past few years of fatbiking, I’ve found that chamois works great for rides lasting a couple of hours. But when I’m planning a really long day on the bike, I get better results skipping the winter bibs. My body seems to regulate itself better, and I end up more comfortable overall.